This will be the first in our RECIPE category. While putting a blackberry cobbler together the other day I thought it’d be a good one to share here. For a recipe to make it in to my blog, it has to have (at least one!) of the following:
– super easy & delicious
– super, super delicious (maybe not THAT easy – but worth the effort!)
– healthy & pretty darn good
– great make-ahead (which means good for entertaining)
(And if it’s posted here in this category it means I’ve personally tried it and am stamping my personal approval on it : )
Blackberry Cobbler Recipe
This one falls under “super easy & delicious” (and, other than the berries, absolutely not healthy!). But… absolutely worth the splurge. The recipe isn’t written down; just in my head so these are approximates (okay to add / subtract with a recipe like this).
(BTW, here’s how I abbreviate my recipes: c=cup T=tablespoon t=teaspoon ~=approximately)
INGREDIENTS:
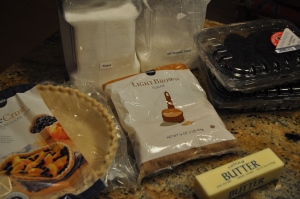
This is all that's in it! granulated & brown sugars + flour + pie crusts + butter + berries (& a bit of water)
- 2 containers of blackberries (I used 2 12-oz packs and had 1/2 of one left over)
- 1 stick butter
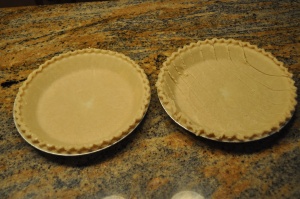
- 2 pie crusts (thaw to room temperature)
- flour (~ 1/2 c)
- granulated sugar (~ 1/4 c)
- brown sugar (~ 1/2 c)
- water (~2 T)
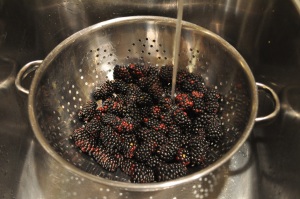
STEP 1: Rinse blackberries & drain.
STEP 2: Place berries into one of the pie shells; cut strips out of the other pie shell (to make lattice topping).
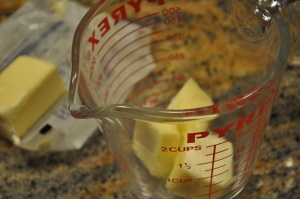
STEP 3: Melt 1/2 of the stick of butter. (Save the other half for later.) TIP: I use a glass, 2-c measuring cup to melt the butter (in microwave) AND ALSO to mix ingredients in STEP 4 – less to wash!
STEP 4: Mix granulated sugar into the melted butter. Stir in flour and then water. Pour mixture over berries.

When poured into shell, mixture should come up only half way to top. While baking, juice from berries will blend in, bringing the combined mixture to the top. (It's a good idea to place a pan on rack below to catch drippings - just in case!)
STEP 5: Cut remaining butter into 5 or 6 pieces and place on top of berries. Then, sprinkle 1/4 C of brown sugar on berries.
STEP 6: Take the strips cut from other pie shell and crisscross (the best you can!) the pieces over the top. (I do this pretty quickly – usually the strips tear when I do it and so I’ll just mash them together as needed.) Then, sprinkle remaining brown sugar on top.
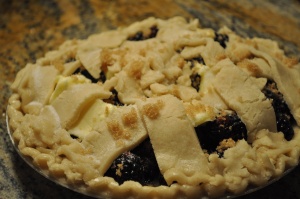
Ready for baking! I don't spent too much time with the lattice part - as you can see. It'll look great when baked - and taste even better!
STEP 7: Bake at 350 degrees for about one hour (berries don’t require quite as much time baking as apples, for instance).
TIP: Place a pan on rack below to catch drippings.
Note: Sometimes pie recipes call for the crust along perimeter to be covered with foil for half of baking time (since this part tends to brown quicker than middle part – but I didn’t do for this one).
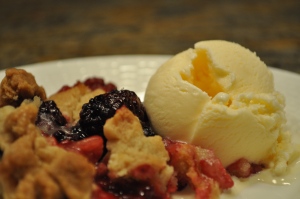
STEP 8: Enjoy!!! Preferably with a scoop of vanilla ice cream. I absolutely L O V E the hot & cold combo!!!
Keep berries lasting longer
“Rinsing berries in hot water prevents mold. Heat water to 125 degrees F. Swish berries in water for 30 seconds. This significantly reduces development of mold on strawberries, raspberries and blackberries, so the berries will keep longer. For blueberries, which have thicker skins, use 140 degree water for 30 seconds.”
The New York Times / Bottom Line 7/1/10


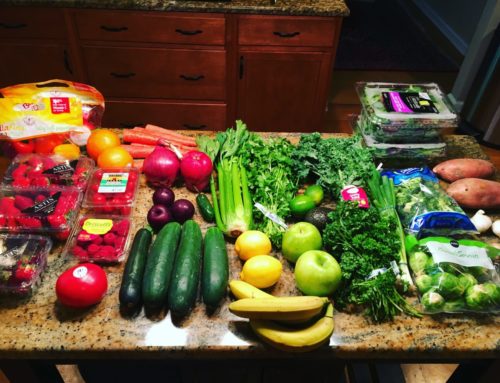
vegetable to your diet daily until you…
are eating healthy amounts. kale packs a great nutritional punch. citrus is a great fruit for cleansing your insides. what you want to avoid is twisting your gut up with too much too soon. drink lots of water so you don’t…